Granola...doesn't need to start with oats
/Spoiler...how about nuts?
Ah, granola. Brings to mind hippie dreadlock vegetarian backpackers or robust healthy Swiss mountaineers, right? They munch away at this wholesome food for breakfast and climb mountains (!!) live the picture of health (!!) hug trees forever!! Well, what if I told you the modern form of granola sold at the stores is little better than dessert? That in most cases, a single serving is a joke, a mere 1/4 cup of the product, barely enough to hit the sides and keep you full? Or that often it is made using more than one type of sugar and liquid sugar so it's soooo sweet that you end up spiking your blood sugar and then crashing soon after (no energy for scaling mountains here, folks).
I will go ahead and say if you cannot eat nuts then I am terribly sorry, this post isn't for you. This recipe has nuts, not going to apologize for that.
Grain-free granola with blackberries and almond milk plain yogurt...a parfait made in heaven
Granola isn't something I normally keep in the house because it's a bit like having access to a steady stream of crack for an addict. However, I just happened to find an almond milk plain yogurt with no crap and 3 strains of probiotics, and got a hankering (after 7 years) for granola. As always, Pinterest is my first research option and behold!! Several recipes to choose from. I chose a recipe to try from www.simplyquinoa.com/grain-free-coconut-granola/
As usual, I didn't follow it exactly because for me, recipes generally are the suggestion of what needs to happen, in what ratio. So I will list the ingredients that I used, but I highly recommend you have a look at the recipe I used for inspiration!
Grain-free Coconut Granola
1.5 cups unsweetened shredded coconut
3/4 cup almonds
1/2 cup pumpkin seeds
1/4 cup flaxseed meal
1 tsp cinnamon
1/2 tsp sea salt (I used Real Salt here, I like the mineral profile)
1/2 cup raisins
3 TBSP coconut oil
1/4 cup maple syrup (I used less, I don't really need things too sweet)
1/4 cup hemp seeds
1. Prehead oven to 325F and line a baking sheet with parchment.
2.I put the whole almonds into the food processor and pulsed it, then added the other ingredients except the oil, syrup and raisins and pulsed briefly to incorporate.
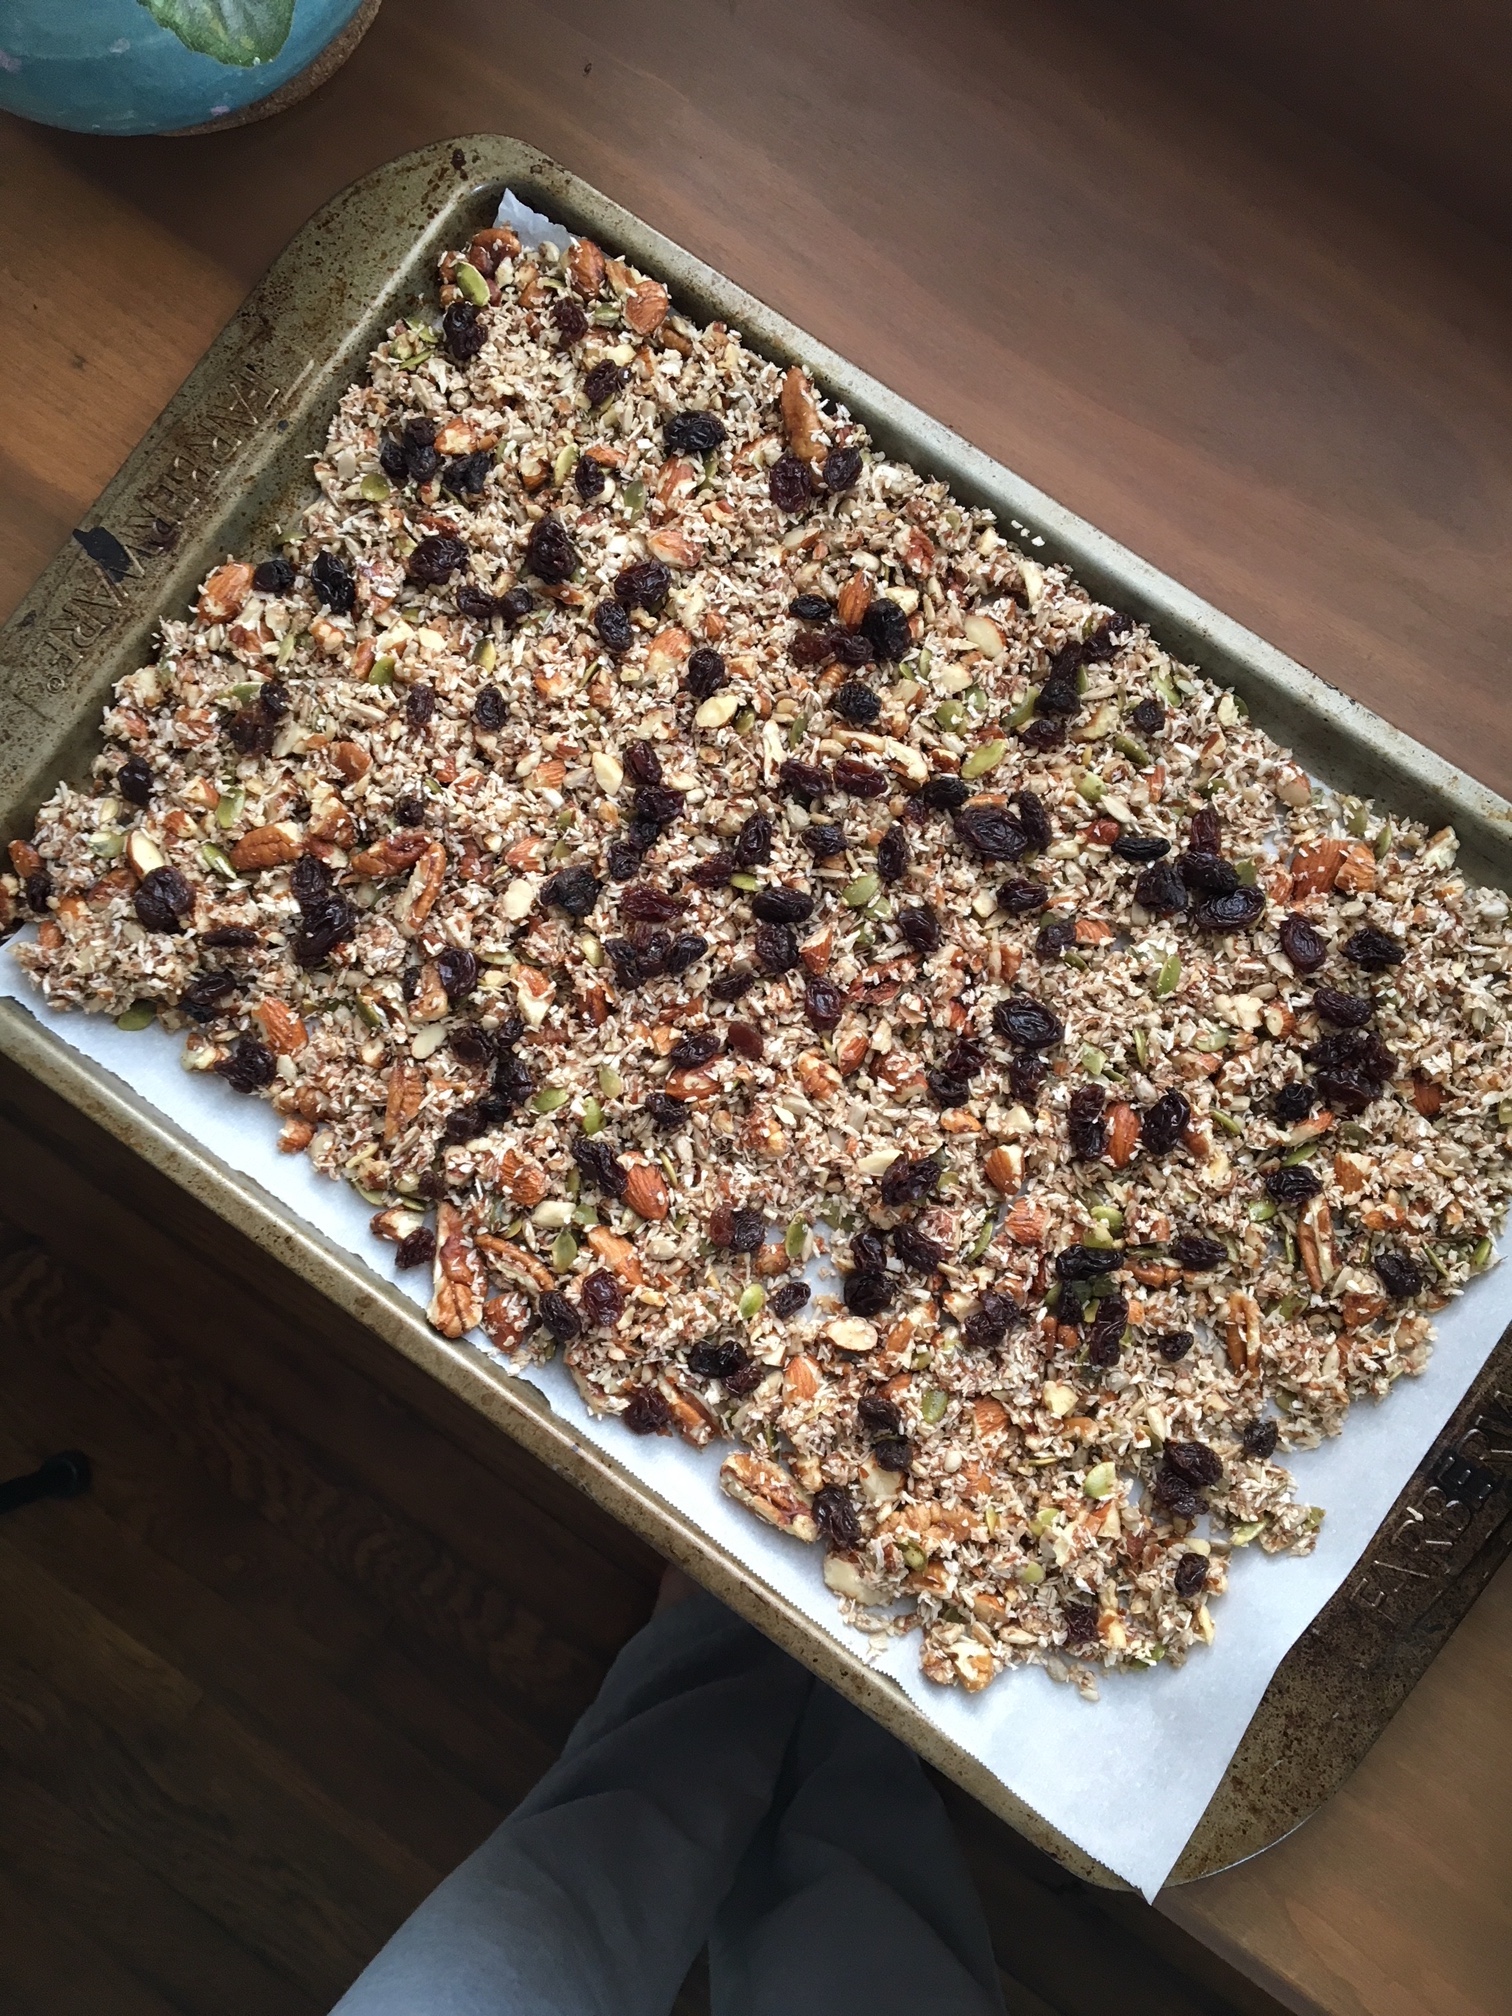
3. Put the pulsed mix into a large bowl and melt the coconut oil and maple syrup in the microwave. Pour the liquid over the dry ingredients and stir well to coat everything. Add the raisins.
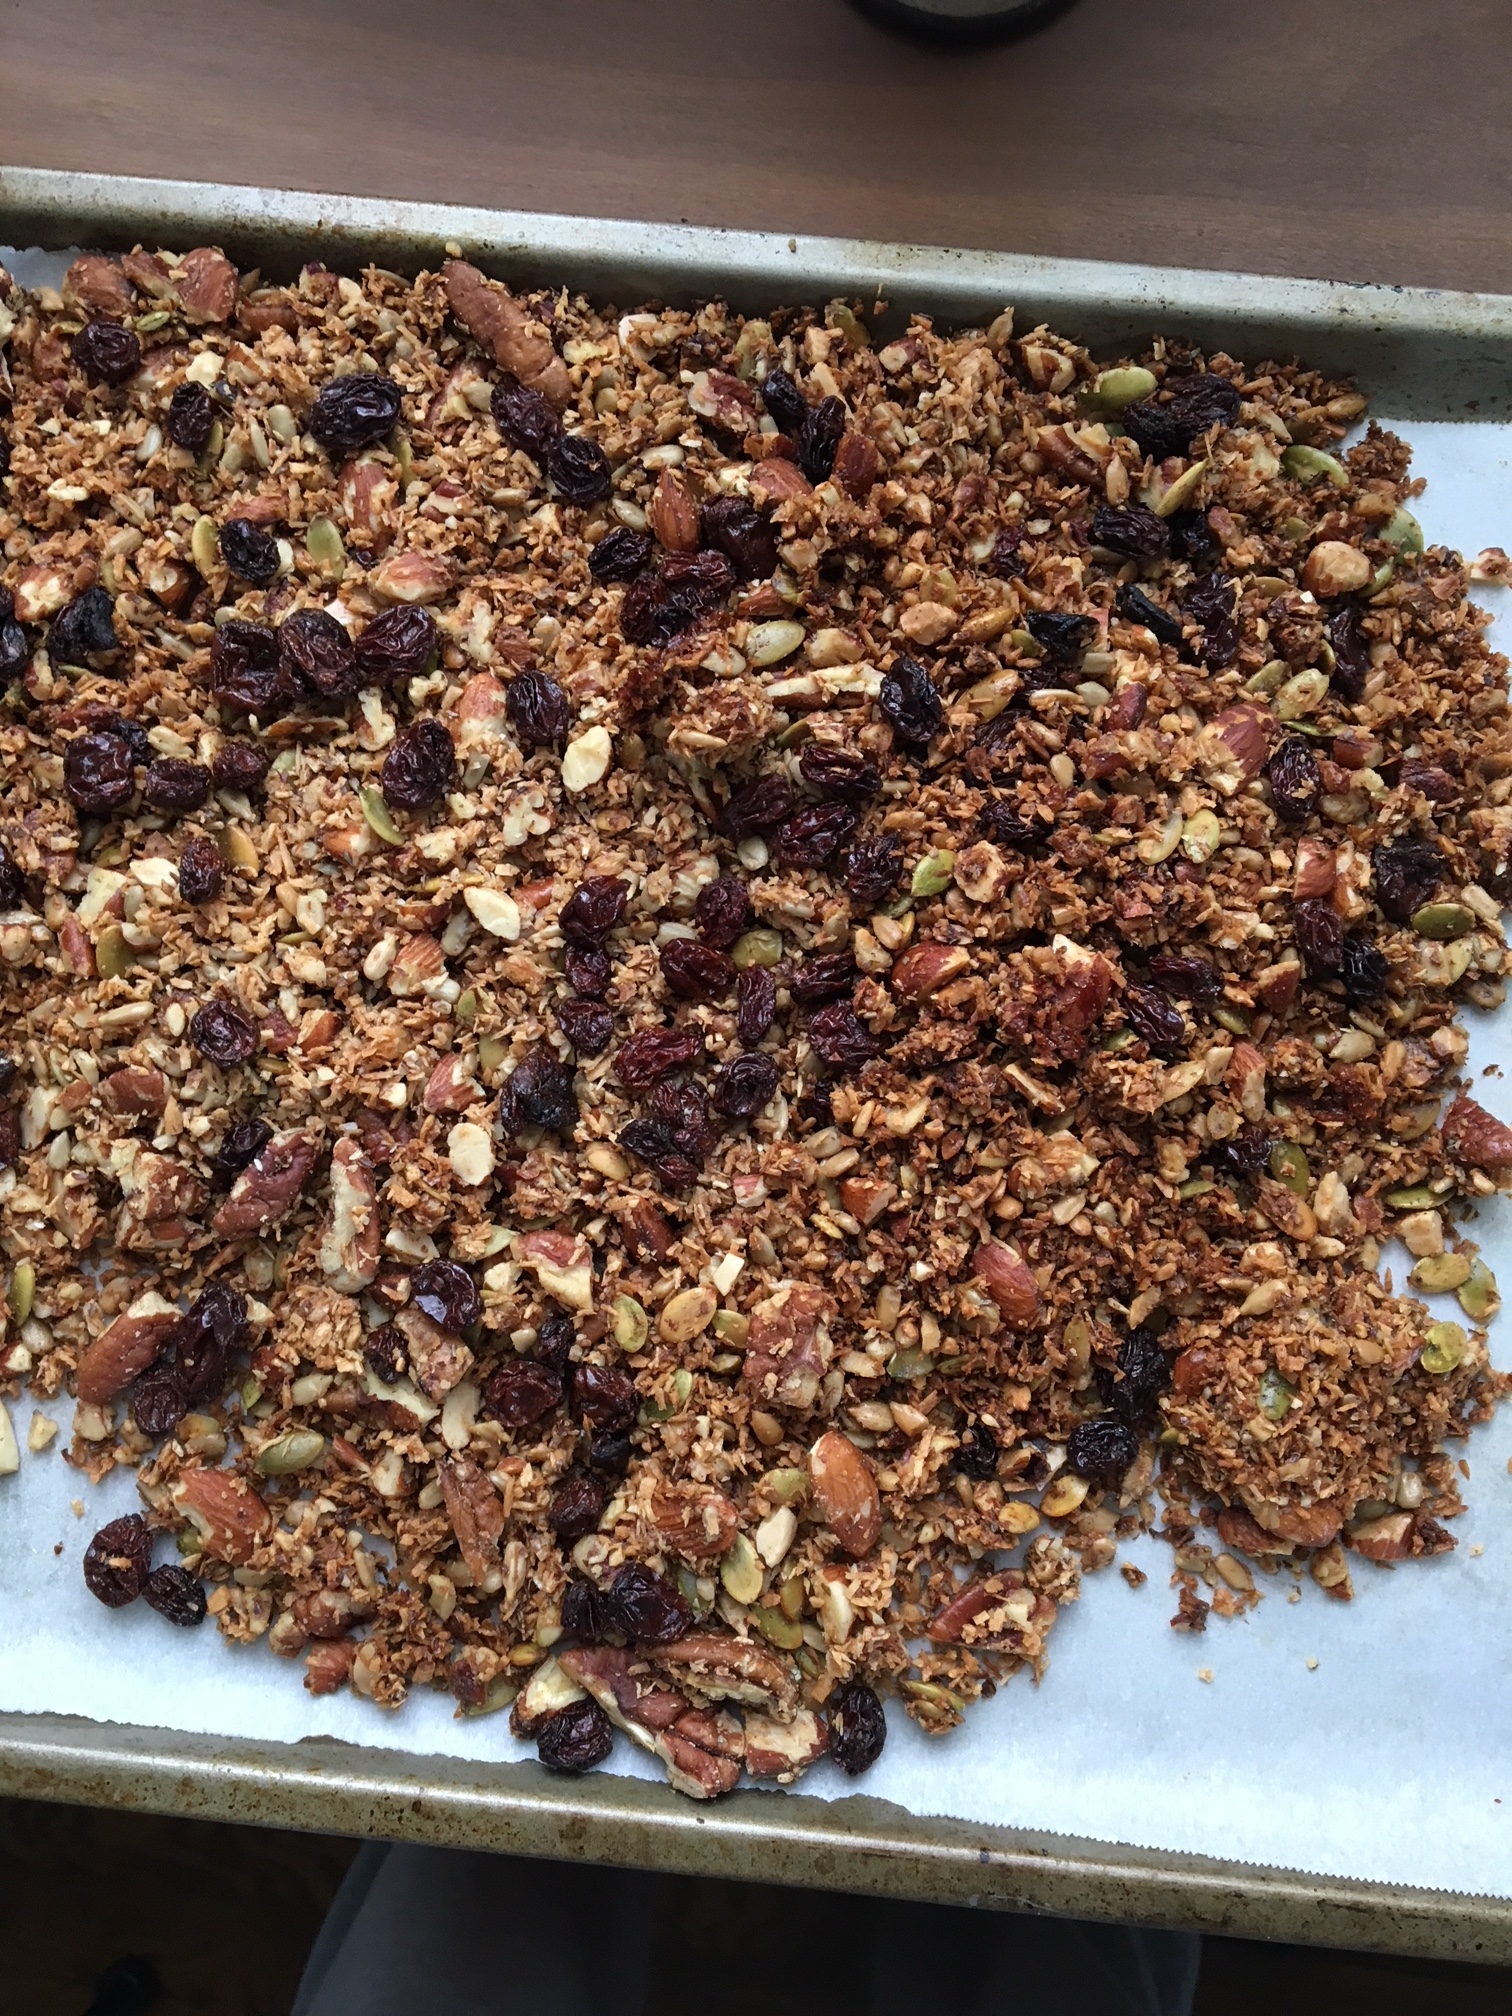
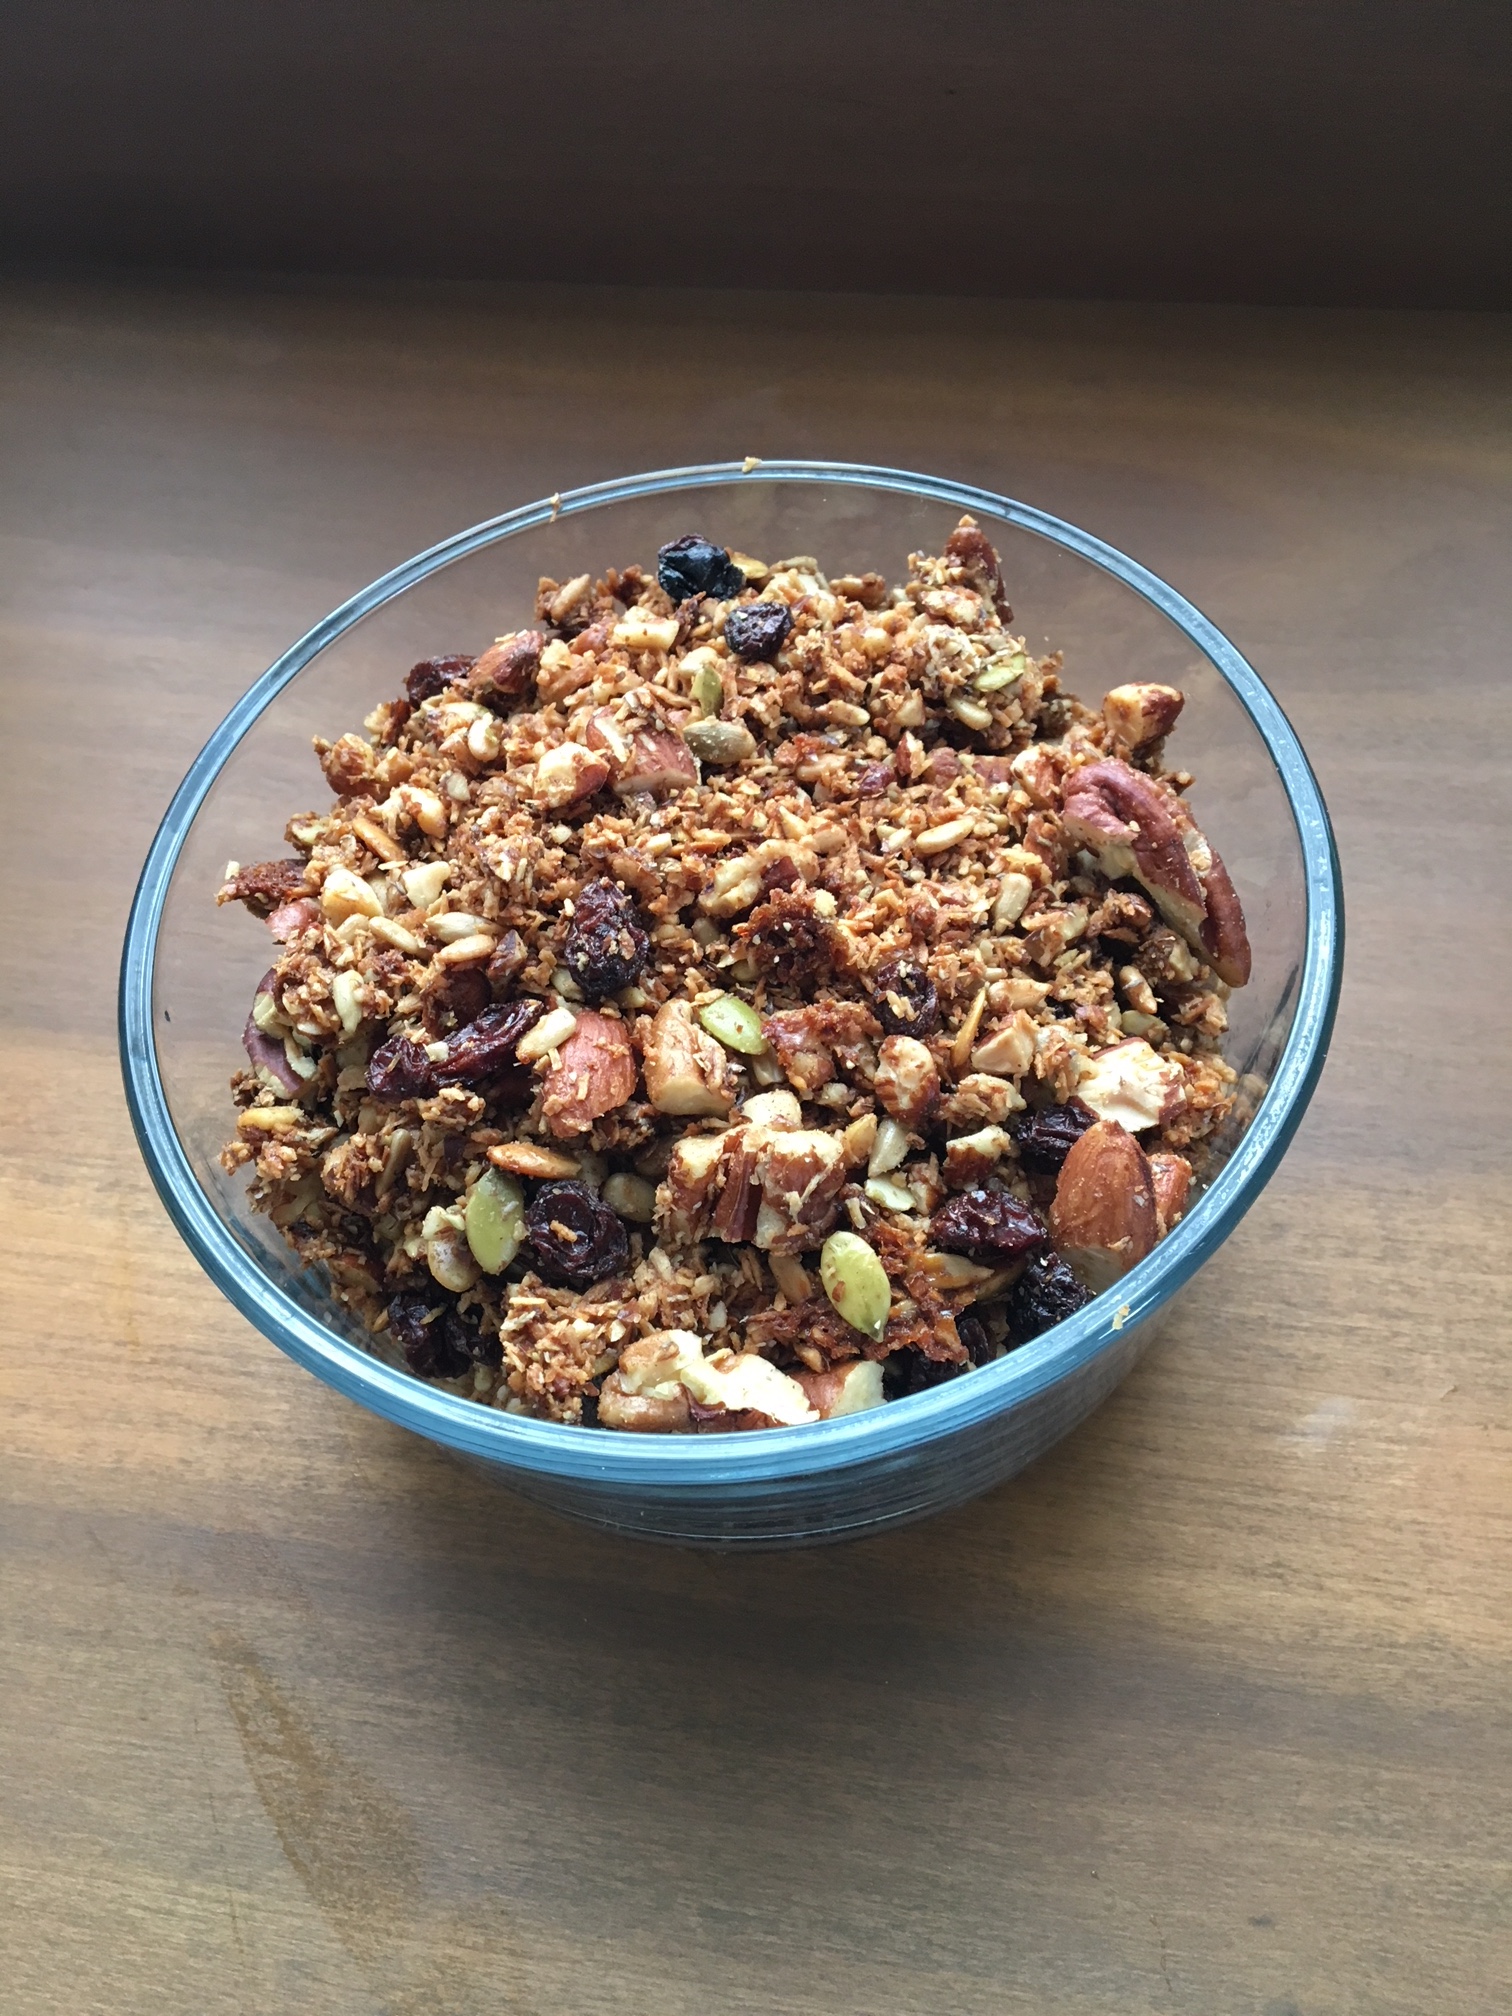
4. Transfer the mix to the baking sheet and bake for 15 minutes. Pull out, stir and put back in oven for another 15 minutes. Adjust time if you think it is burning and pull it out. The idea is to get a nice toasted colour. Allow to cool on the pan completely before putting into a storage container.
This stuff is tasty and it's got a hint of sweetness, without making your teeth ache and giving you a sugar rush. I LOVED it on my almond milk yogurt (full fat, please), with some fresh berries...and IF you feel you need it sweeter you can drizzle some raw honey, and if you make this for dessert, then you may want to for presentation, but otherwise I loved it's toasty goodness just as it was.
This recipe makes enough for more than 14 servings as really, this is like a flavour condiment, NOT to be eaten by the shovel-full!! But in truth...it's hard not to eat a lot at once, it's so tasty...Omit the maple syrup altogether to reduce the sugar content further, it's really great as-is and you will get sweetness if you eat it with berries.
Enjoy and good luck experimenting!!
~ Dawn


